Create Network Cube
In this guide we will spawn cube and synchronize position of cube by network
Let's begin!
Networked prefab
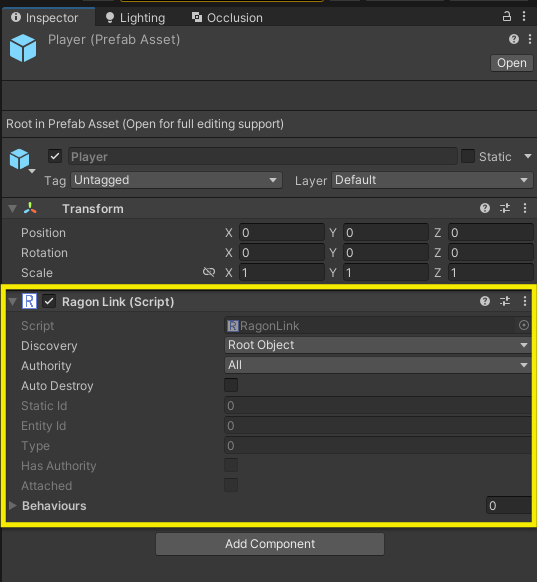
Every networked object must have a Ragon Link component, this component contains information about the network state of the object do all replication work.
Ragon Link
Create GameObject named for example Player and add Ragon Link component:

Ragon Transform Component
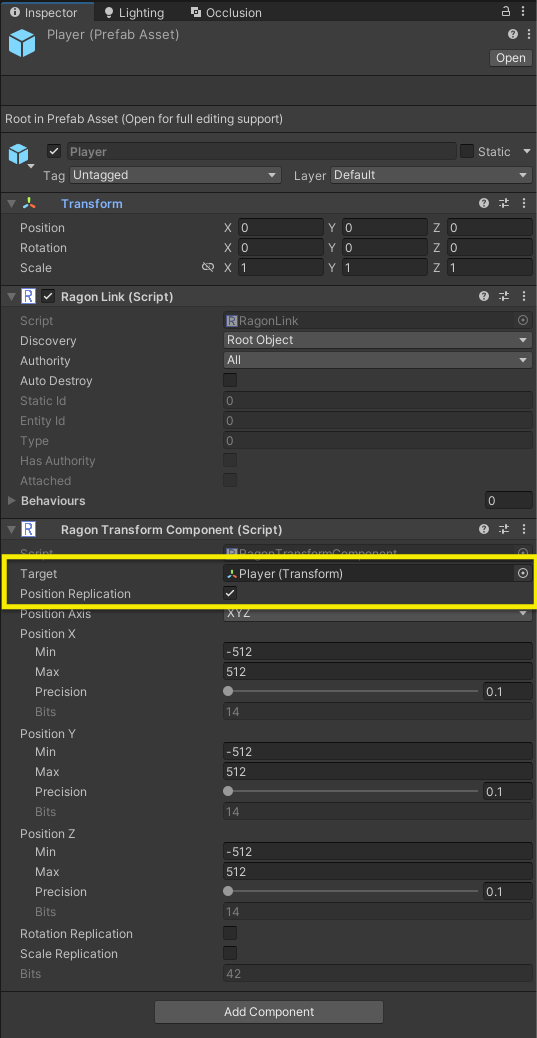
To replicate the position we will use the Ragon Transform Component, add it to our player object, set Target and also set the switch to synchronize the position

Player Behaviour
Now we should create our component for controlling:
public class Player : RagonBehaviour
{
  public override void OnUpdateEntity()
  {
    var direction = Vector3.zero;
    var rotation = transform.rotation.eulerAngles.y;

    if (Input.GetKey(KeyCode.A))
    {
      direction += transform.right * 10 * Time.deltaTime;
    }
    else if (Input.GetKey(KeyCode.D))
    {
      direction -= transform.right * 10 * Time.deltaTime;
    }

    transform.rotation = Quaternion.Euler(0, rotation, 0);
    transform.position += direction;
  }
}
Defining player prefab
Define our player prefab in Game Network created in previous step:
public class GameNetwork : MonoBehaviour, IRagonListener
{
  [SerializeField] private GameObject PlayerPrefab;
Edit OnJoined method at Game Network script, add code for spawn our player
public void OnJoined()
{
  Debug.Log("Joined");
  RagonNetwork.Room.CreateEntity(PlayerPrefab);
}
Play
Don't forget to turn on in Project Build Settings
- Run in Background
- Fullscreen Mode to Windowed
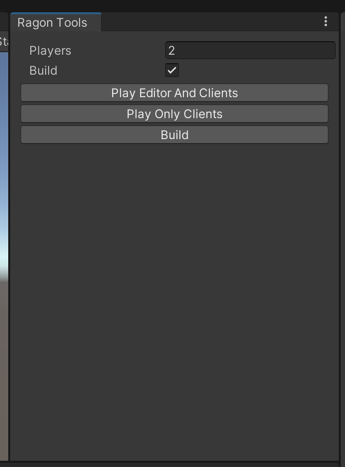
Open Ragon Tools windows:
Set checkbox Build true and Players count 2

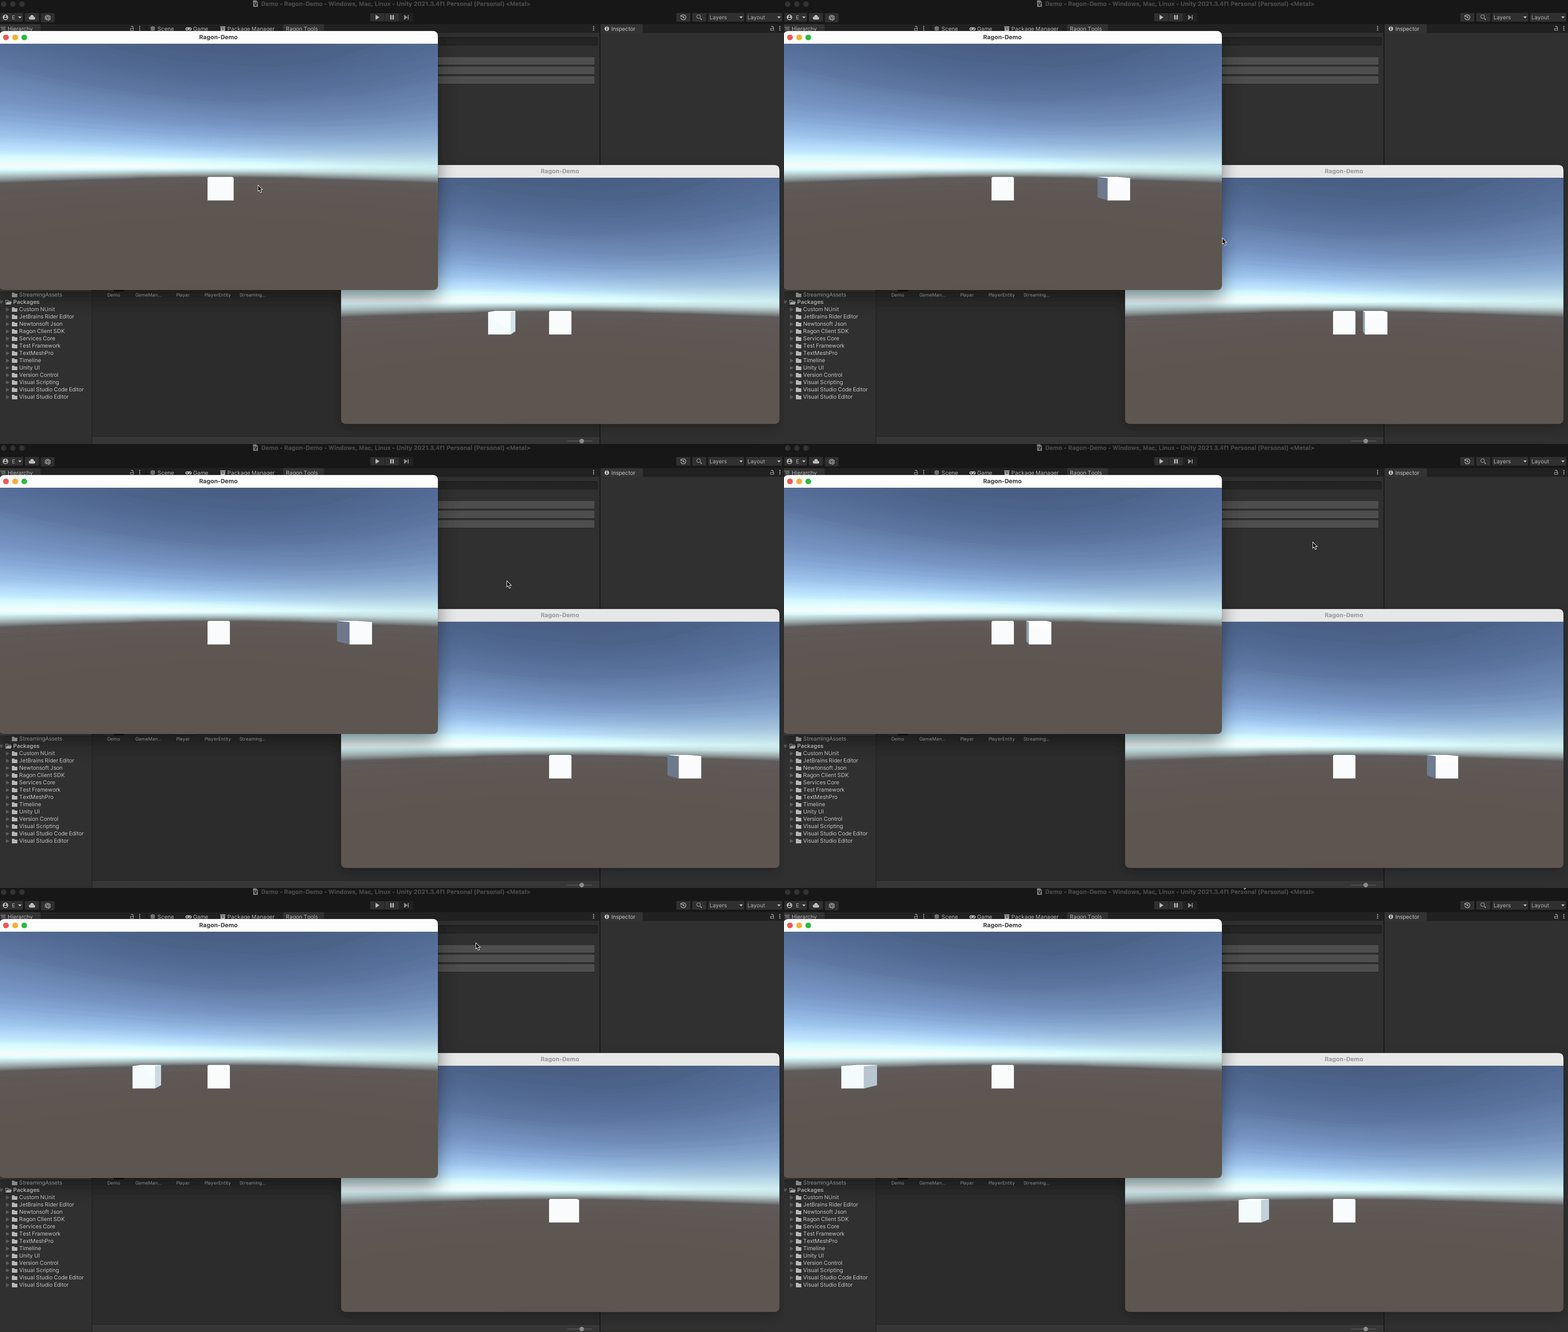
And press Play Only Clients, and it should build and open two clients like on the gif below:
